Grid Maker for Instagram: Effortlessly Create Stunning Visual Feeds
Surely, when following someone on Instagram, you’ve come across those stunning grid layouts where a single image is split into multiple smaller images that seamlessly combine into one large visual masterpiece.
To achieve this impressive effect, a grid maker for Instagram is the tool you need. You might be wondering how this is done and why people go to such lengths to create it. This blog will answer all your questions and show you how to split images to transform your Instagram feed.
In the world of Instagram, aesthetics are everything. A well-designed feed can grab attention, tell a story, and elevate your personal or brand presence.
Enter the magical combination of a grid maker for Instagram and the ability to split images. This dynamic duo transforms your feed into a visual masterpiece, captivating your audience and keeping them scrolling.
Ready to master this skill? Let’s break it all down!
What Is a Grid Maker for Instagram?
The Basics of Grids and Splitting Images
A grid maker for Instagram is a tool designed to split a single image into smaller tiles, which are uploaded sequentially to create a cohesive visual layout on your Instagram profile. It’s like piecing together a digital jigsaw puzzle—except you’re the artist in control.
Why Split Images Are Trending on Instagram
Splitting images into grids allows you to tell a bigger story or showcase a creative concept that single posts simply can’t convey. It’s a way to stand out in a crowded social space.
Popular Tools for Grid Making
Some widely used tools include Canva, Fotor and our imagesplitter. They make the process of splitting and arranging images straightforward and hassle-free.

Why Should You Split Images on Instagram?
Create a Visually Cohesive Feed

A image splitter brings uniformity to your Instagram profile, making it more appealing to new visitors. It creates an impression of creativity and professionalism.
Tell a Story Without Words

With our grid maker for instagram, you can unfold a narrative through visuals, piece by piece. Whether you’re launching a product, sharing a travel diary, or simply experimenting with artistic ideas, a grid allows your creativity to shine.
Boost Engagement and Retention

An aesthetically pleasing grid maker for Instagram encourages users to explore your feed more thoroughly, increasing engagement rates and encouraging follows.
How to Split Images Using a Grid Maker for Instagram
Step 1: Choose the Right Tool
Find a grid maker for Instagram that fits your needs. You can use our imagesplitter.io, which is easy to use, fast, and completely free, making it perfect for quickly creating grids.
Step 2: Prepare Your Image
Use a high-quality image that can be split into equal squares without losing its impact. Vibrant colors and strong compositions work best for grids. Make sure your image is suitable for split images tools to maintain clarity and visual appeal when divided.
Step 3: Split the Image
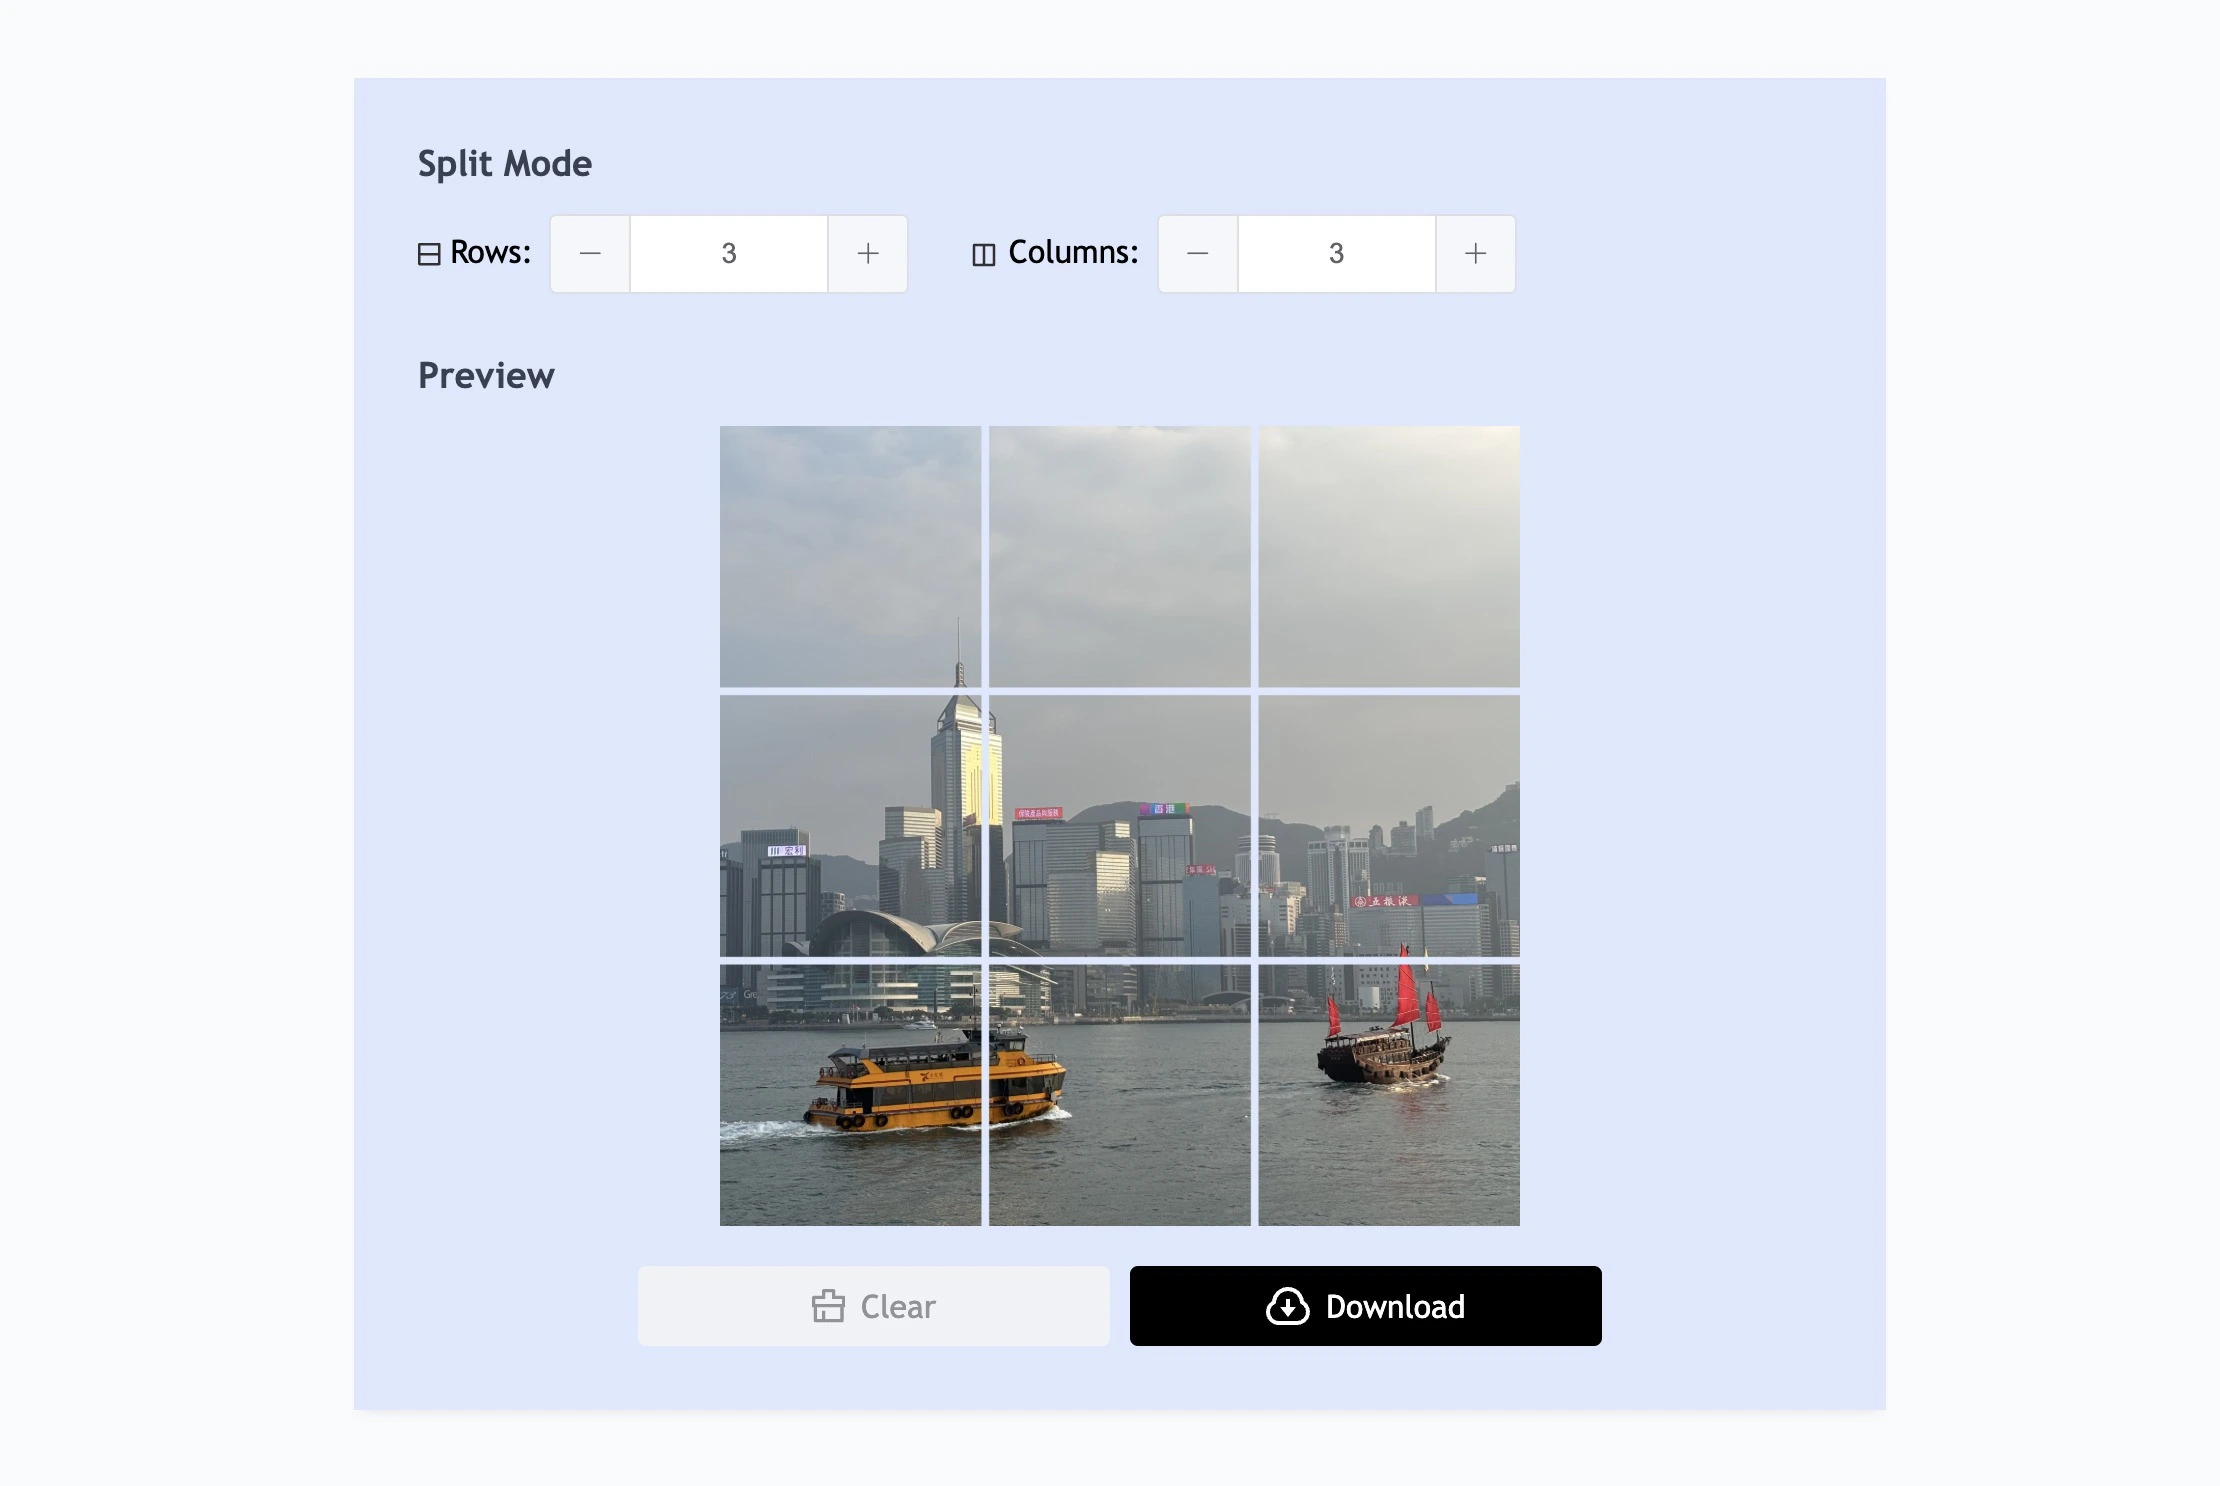
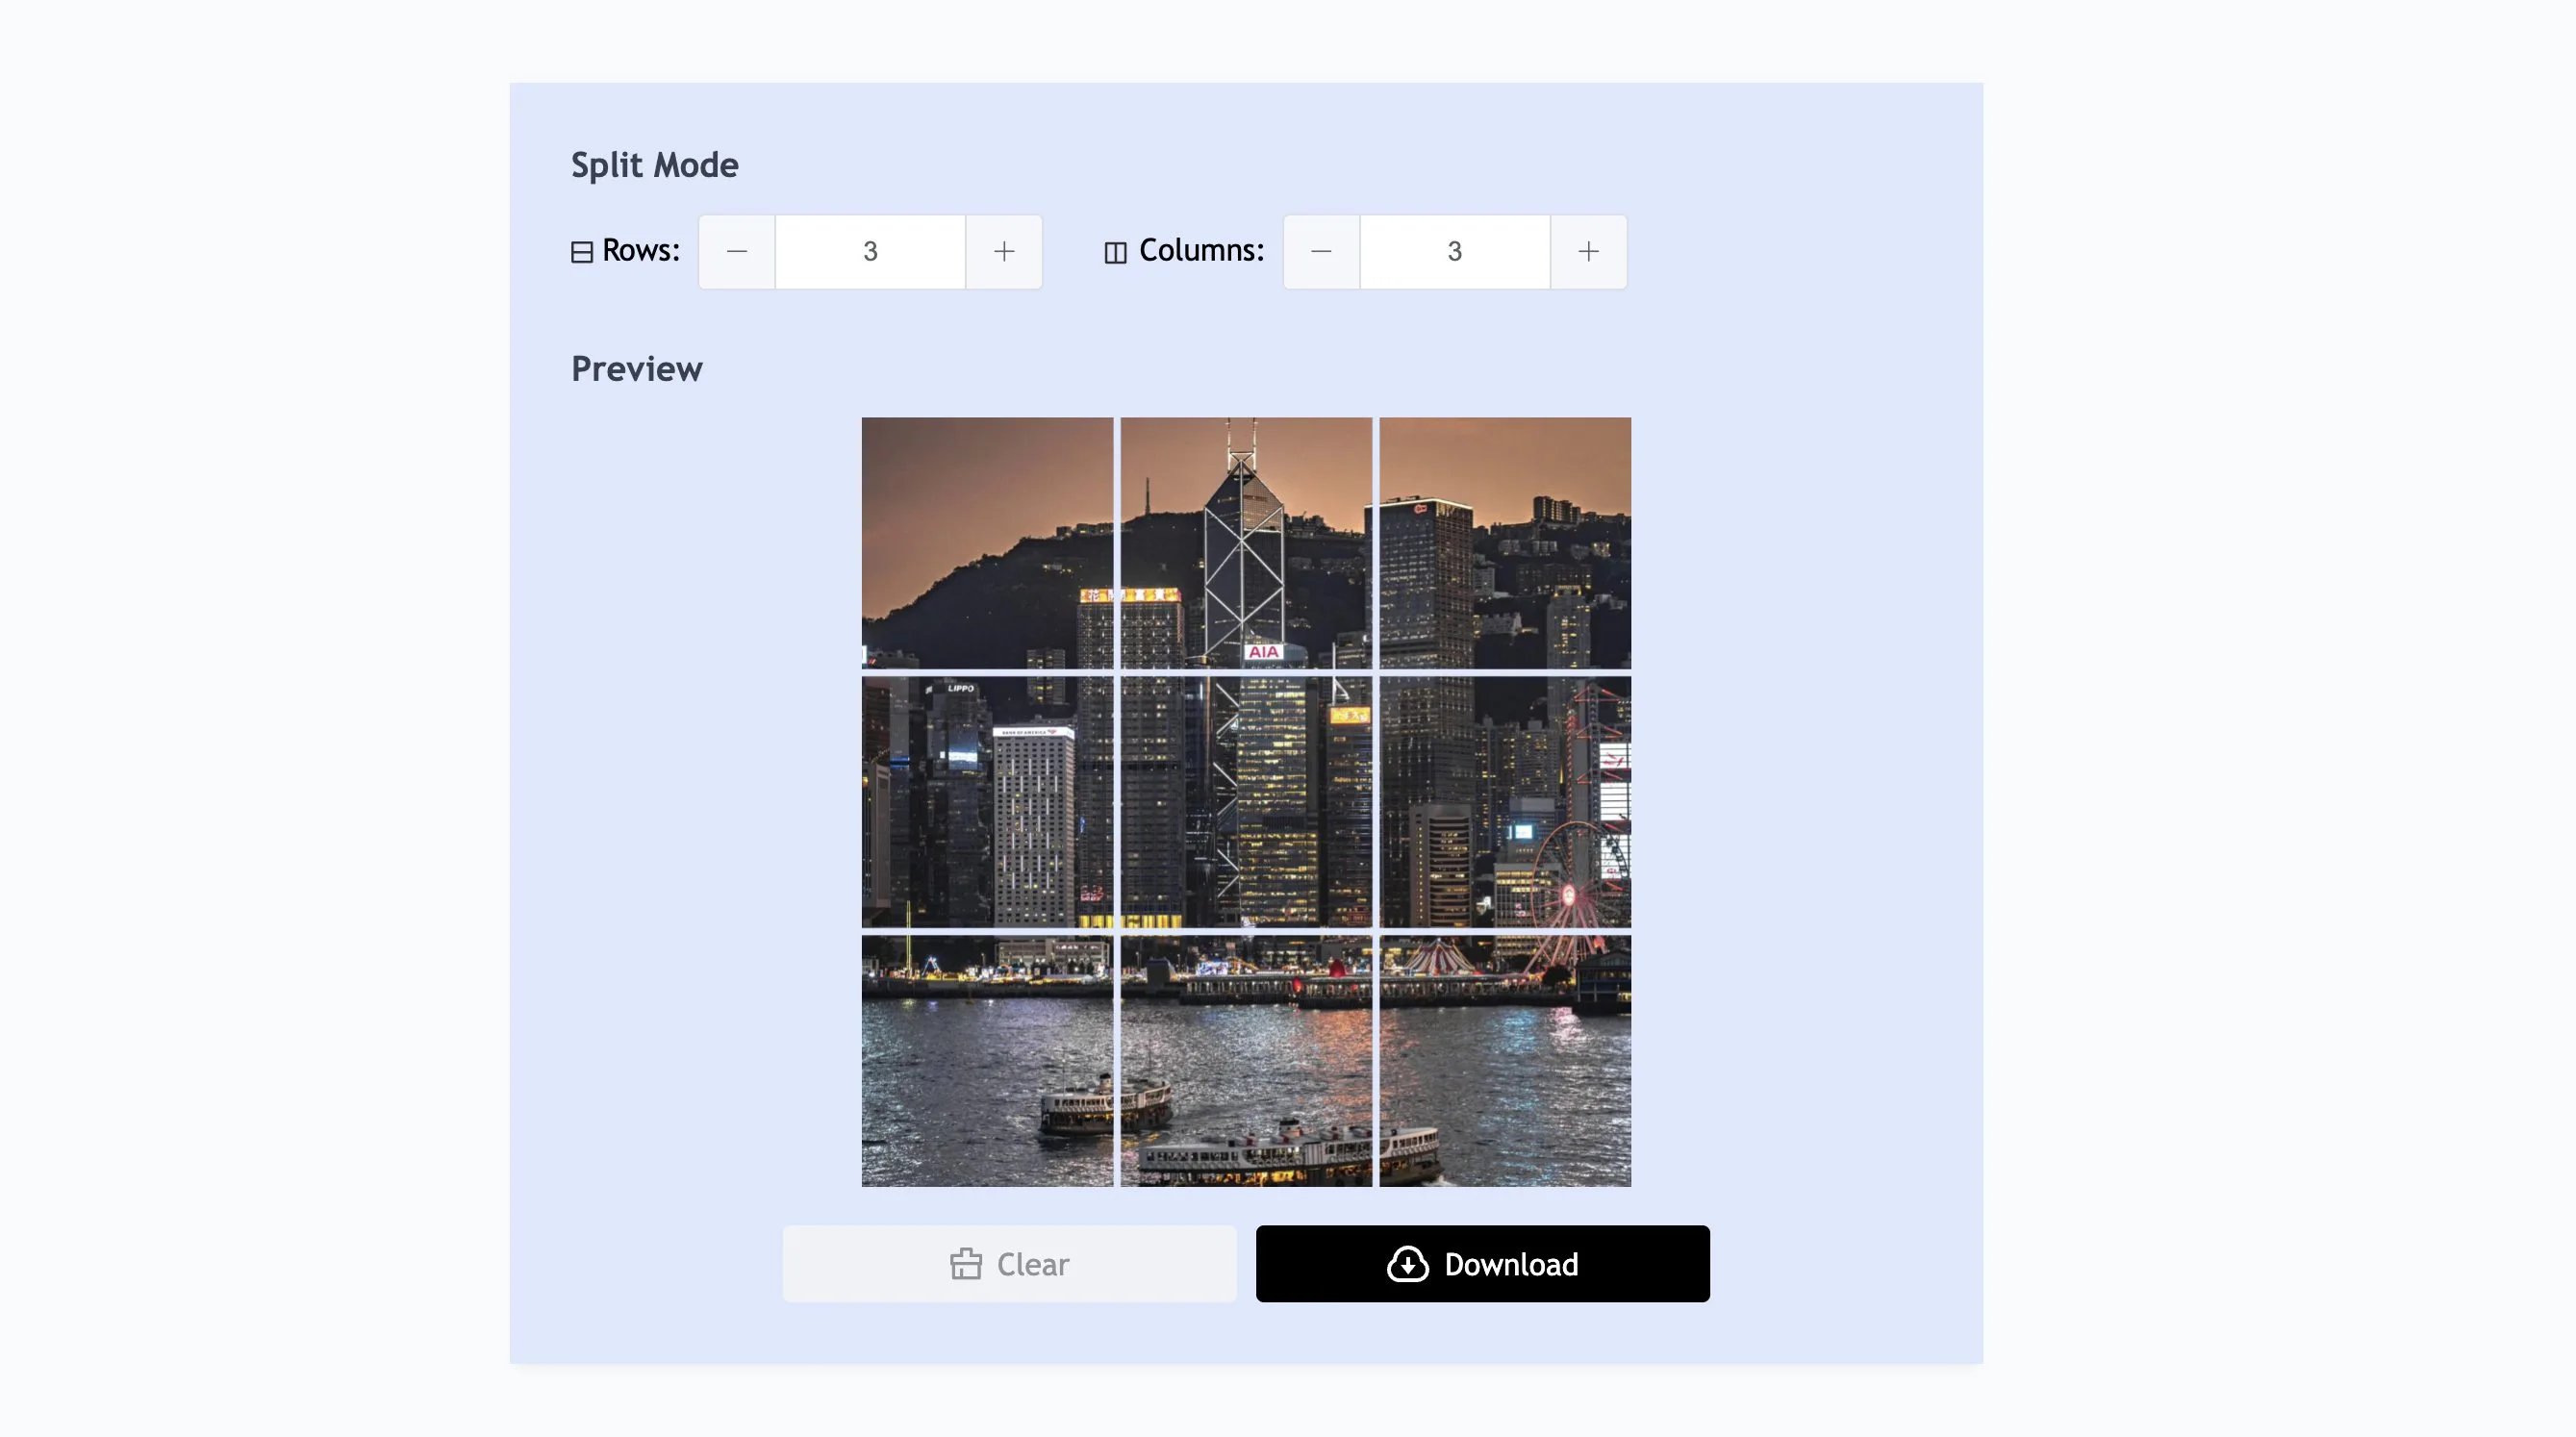
Upload your photo into your chosen grid maker for Instagram and select the grid size—most commonly 3x3. The tool will automatically split the image into separate tiles for you.
If you want a more detailed tutorial, such as how to post perfect split images, be sure to check out our blog: Image Splitter for Instagram.
It provides step-by-step instructions and tips to help you create and post stunning split images on Instagram with ease.
Pro Tips for Using Instagram Grids
Balance Individual Posts with the Bigger Picture: Optimize Your Grid Layout
While grids are visually striking, ensure each post holds value on its own. Each tile created using a grid maker for Instagram should be visually appealing and well-crafted to avoid detracting from the overall impact. A well-designed split image can significantly enhance the look of the entire grid.
Plan Your Posts in Advance: Ensure Grid Consistency
Plan ahead and ensure your feed flows seamlessly before posting. Understanding how each individual post interacts with others will help you avoid awkward layouts and maintain consistency across your split image grid.
Avoid Common Mistakes: Using the Grid Maker Effectively
Don’t use low-resolution images: Low-resolution images will appear blurry when split, affecting the overall quality. Make sure to use high-quality images to get the best visual impact.
Upload tiles in the correct order: Incorrectly uploading tiles will disrupt the grid layout and break the split image effect. Ensure they are uploaded in sequence to maintain the intended design.
Avoid overusing grids: Too many split images can make your feed look monotonous. Use grids sparingly to ensure your feed remains diverse and visually appealing.
Conclusion
So, here’s the deal—grid makers for Instagram are the secret sauce to making your feed pop and stand out from the crowd. You can easily take one awesome photo, split it into smaller pieces, and create a visually stunning layout that’s guaranteed to make your followers stop scrolling and say, “Wow!”
Using a grid maker for Instagram isn’t just about creating pretty pictures—it’s about telling a story, getting creative, and maybe even looking a little bit like a pro. Whether you’re launching a new product, documenting your travels, or just flexing your artistic side, a well-designed grid gives you a way to showcase your ideas in a bold, exciting way.
And the best part? It’s super simple. With tools like ImageSplitter.io, you can easily turn any photo into a grid masterpiece. Plus, once you master the art of using a grid maker for Instagram, you’ll be the go-to feed for design inspiration.
So, go ahead—get splitting, get creative, and make your feed the talk of the Instagram town. Who knew a grid maker for Instagram could make you a social media superstar?